# Drawers for the kitchen
For our kitchen I had to build more than 30 drawers. After having shelves in recent flats, we this time decided to get rid of them and to only have drawers. We don't regret this, by the way.
This article is about the way I built them. In the last kitchen I made the following mistakes:
- I used 16 mm particle board instead of proper plywood
- The bottom was of HDF material (3 mm) which was loosely mounted in a slot
- To cover the board I used white edge banding
This time I decided to
- Have sturdy drawers without moving parts
- Spend more money on the sheet material
- Waste less time with edge banding
- Use 12 mm to have an elegant look
# A simple design
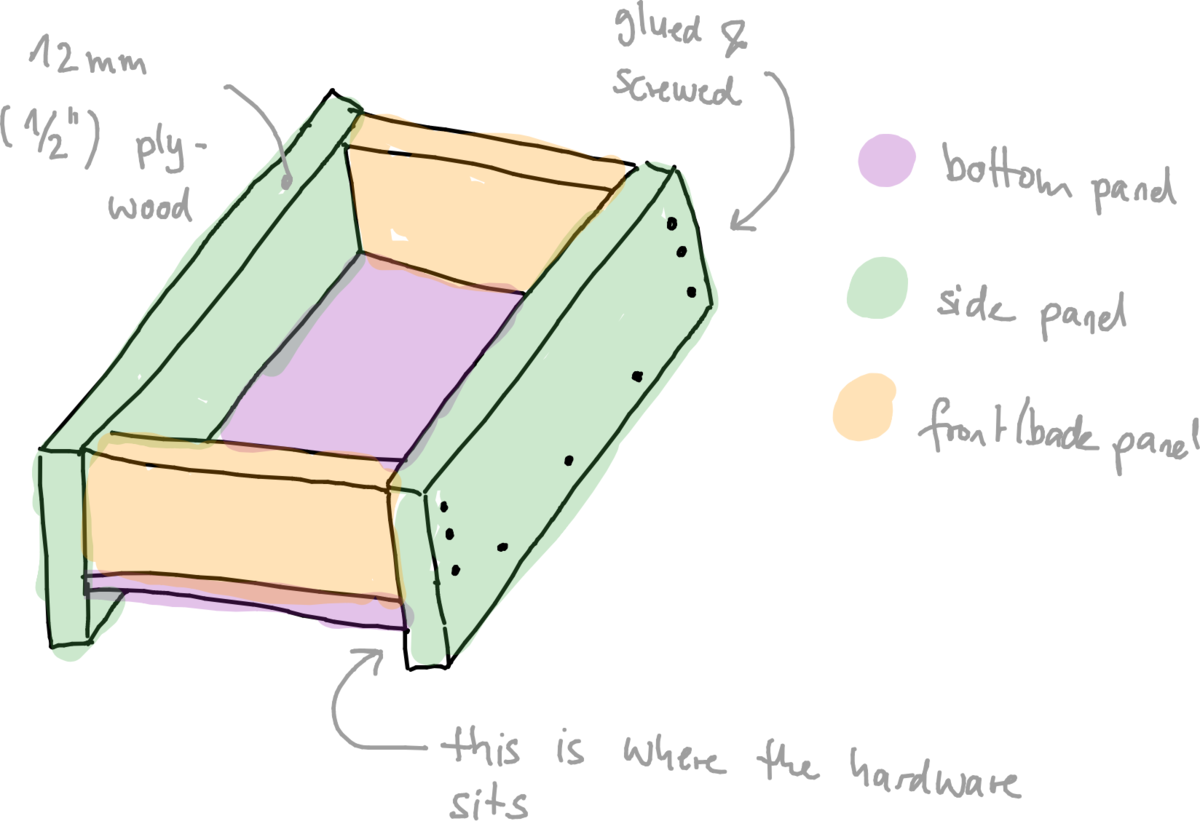
What I came up with is this simple design based on 12 mm birch plywood. It consists of five parts. The drawers are supported by proper slides that are invisible. The hardware determines the width of the drawer, given the width of the corpus. It also determines the depth, although they are usually spaced within a couple of centimeters, so there is much flexibility.

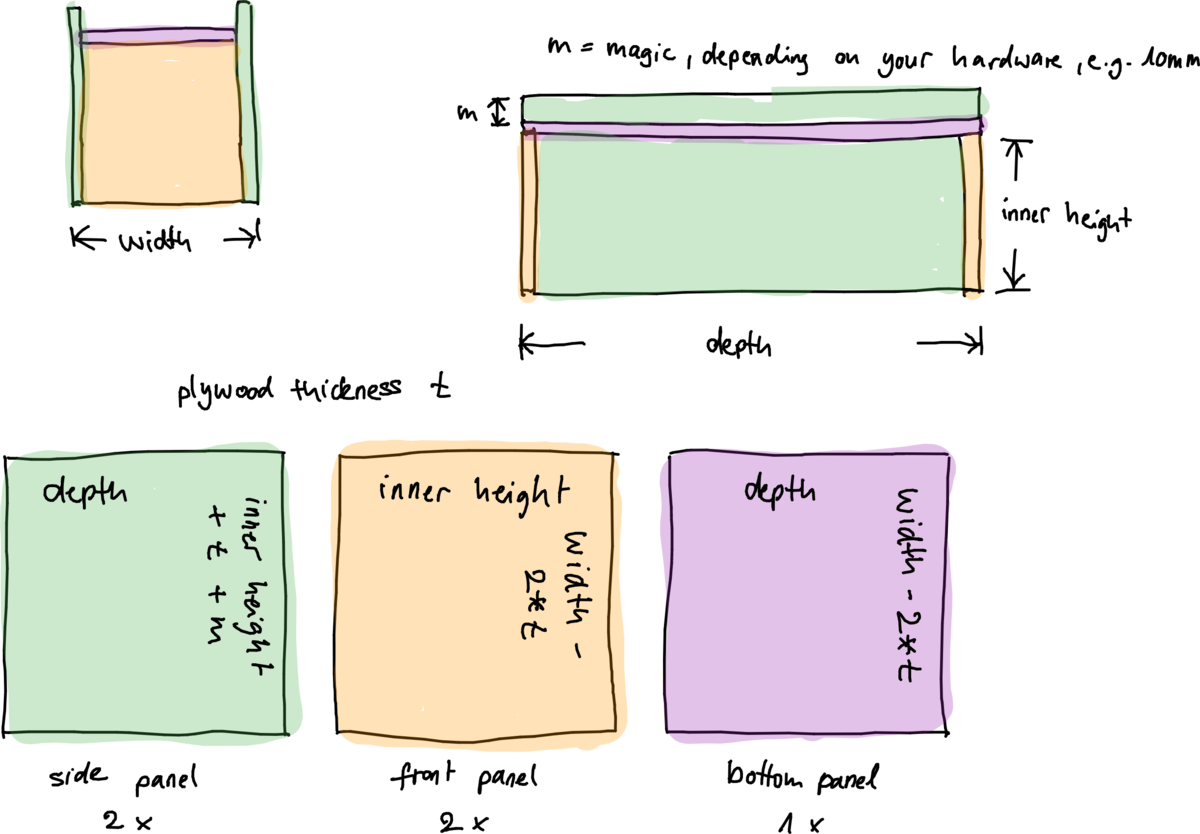
In the other article I described an efficient method to cut the wood. The drawing here shows the relation of the desired measures of the drawer and the dimensions of the individual parts.

# Assembly
I didn't take any pictures, sorry. But I'll describe. I started with the front and back panel that I put on the assembly table. I placed the bottom on those parts, carefully aligning them. Before I did that, I gave some wood glue. Then I used a nail gun to initially fix them. There is also no need to check any angles, by the way.
After mounting the front and the back, I mounted the sides. This time, I aligned the top of the front and back panel with the top of the sides, also after giving some glue and by fixing it with the nail gub. Again, no need to check any measurement or angle as long as everything is aligned properly.
After assembly I removed exceeding glue and added a couple of screws, don't forget to drill pilot holes. For this kind of material I almost exclusively used 4x40 screws with a TX 20 head. This went well, although it's the absolute limit. 3 mm is a little bit too thin, though, so 3.5 mm may be the best compromise.
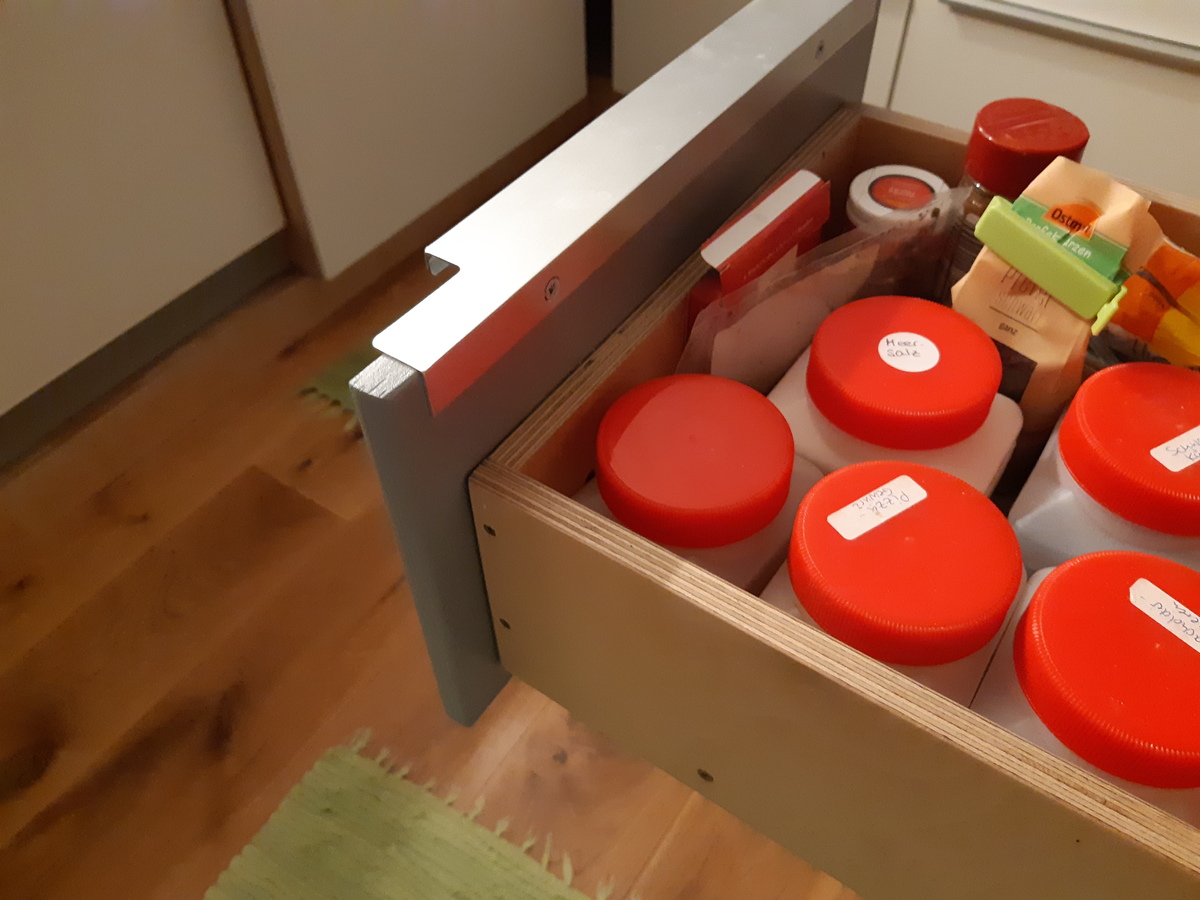
The result is amazing. They are really sturdy and using 12 mm wood really pays off. This is a great balance between being light weight and sturdy.
# Finishing the drawers

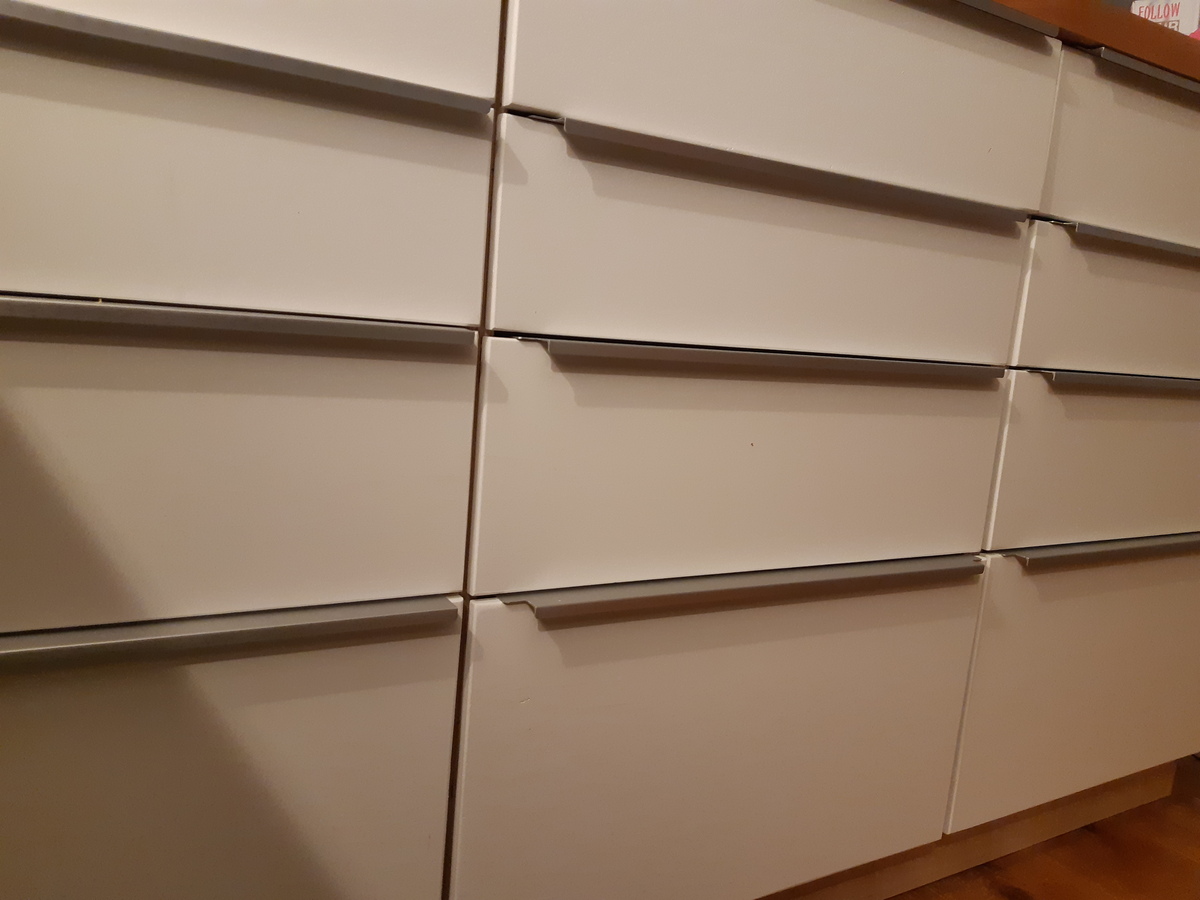
Once all is put together and you gave it a couple of coats of paint, mounted the drawer fronts and a handle it looks like this.
I used a water based polyurethane, but to have a decent surface (which can be cleaned and so on) it takes a couple of coats, at least from the transparent one. There are other products, but they require a lot of cleaning efforts. I used non-water based products for my bathroom furnitures (made of oak). Maybe the next time I give these things a try again ...
The colored surfaces (I used white and grey for the drawer fronts) are much simpler, one coat of primer and one or two coats of finish are sufficient to have a good looking and sturdy surface.

The handles are from IKEA and made of aluminium. I needed to tweak some of them because I did not adhere to standard measures everywhere.